This reveal has been a long time coming! If you recall from this post and this post, we were working to do a quick, easy, affordable update to our third floor bathroom before the arrival of baby Graham. We basically had to fix a plumbing issue, rip out the old linoleum and replace the flooring, paint, install a new toilet, install new baseboard, and update some of the fixtures. We didn't want to do anything too extravagant because we have pretty much maxed out the price we can get for our house and we didn't want to spend money we wouldn't get back.
I'm not kidding when I tell you we finished this bathroom THE DAY I went into labor! We wanted it to be done before my mom came to stay with us while I was in the hospital, and Evan was seriously finishing it up a few hours before we went to the hospital while I was counting contractions! (Graham was almost three weeks early, so we thought we would have a little more time!) Talk about pulling it off in the knick of time!
I also feel the need to note that part of the reason this reveal took so long is obviously that we've been super busy with our new baby, but also because this room is SO DIFFICULT to photograph! They still aren't great pictures, but it is what it is at this point! :)
Here is a picture of the bathroom when we first moved in:

Prior to this particular project, we had already painted the room my favorite color, Martha Stewart's "Flagstone" and added some new oiled rubbed bronze towel fixtures from Pottery Barn. To tackle this next phase, the first thing we did is rip out the linoleum flooring and get the plumbing issue fixed. As you can see, beneath the linoleum flooring was hard wood flooring! I'm actually surprised there wasn't more damage to it considering there wasn't much of a water barrier. Maybe the previous owners' children didn't splash as much as ours do! (Ha!)


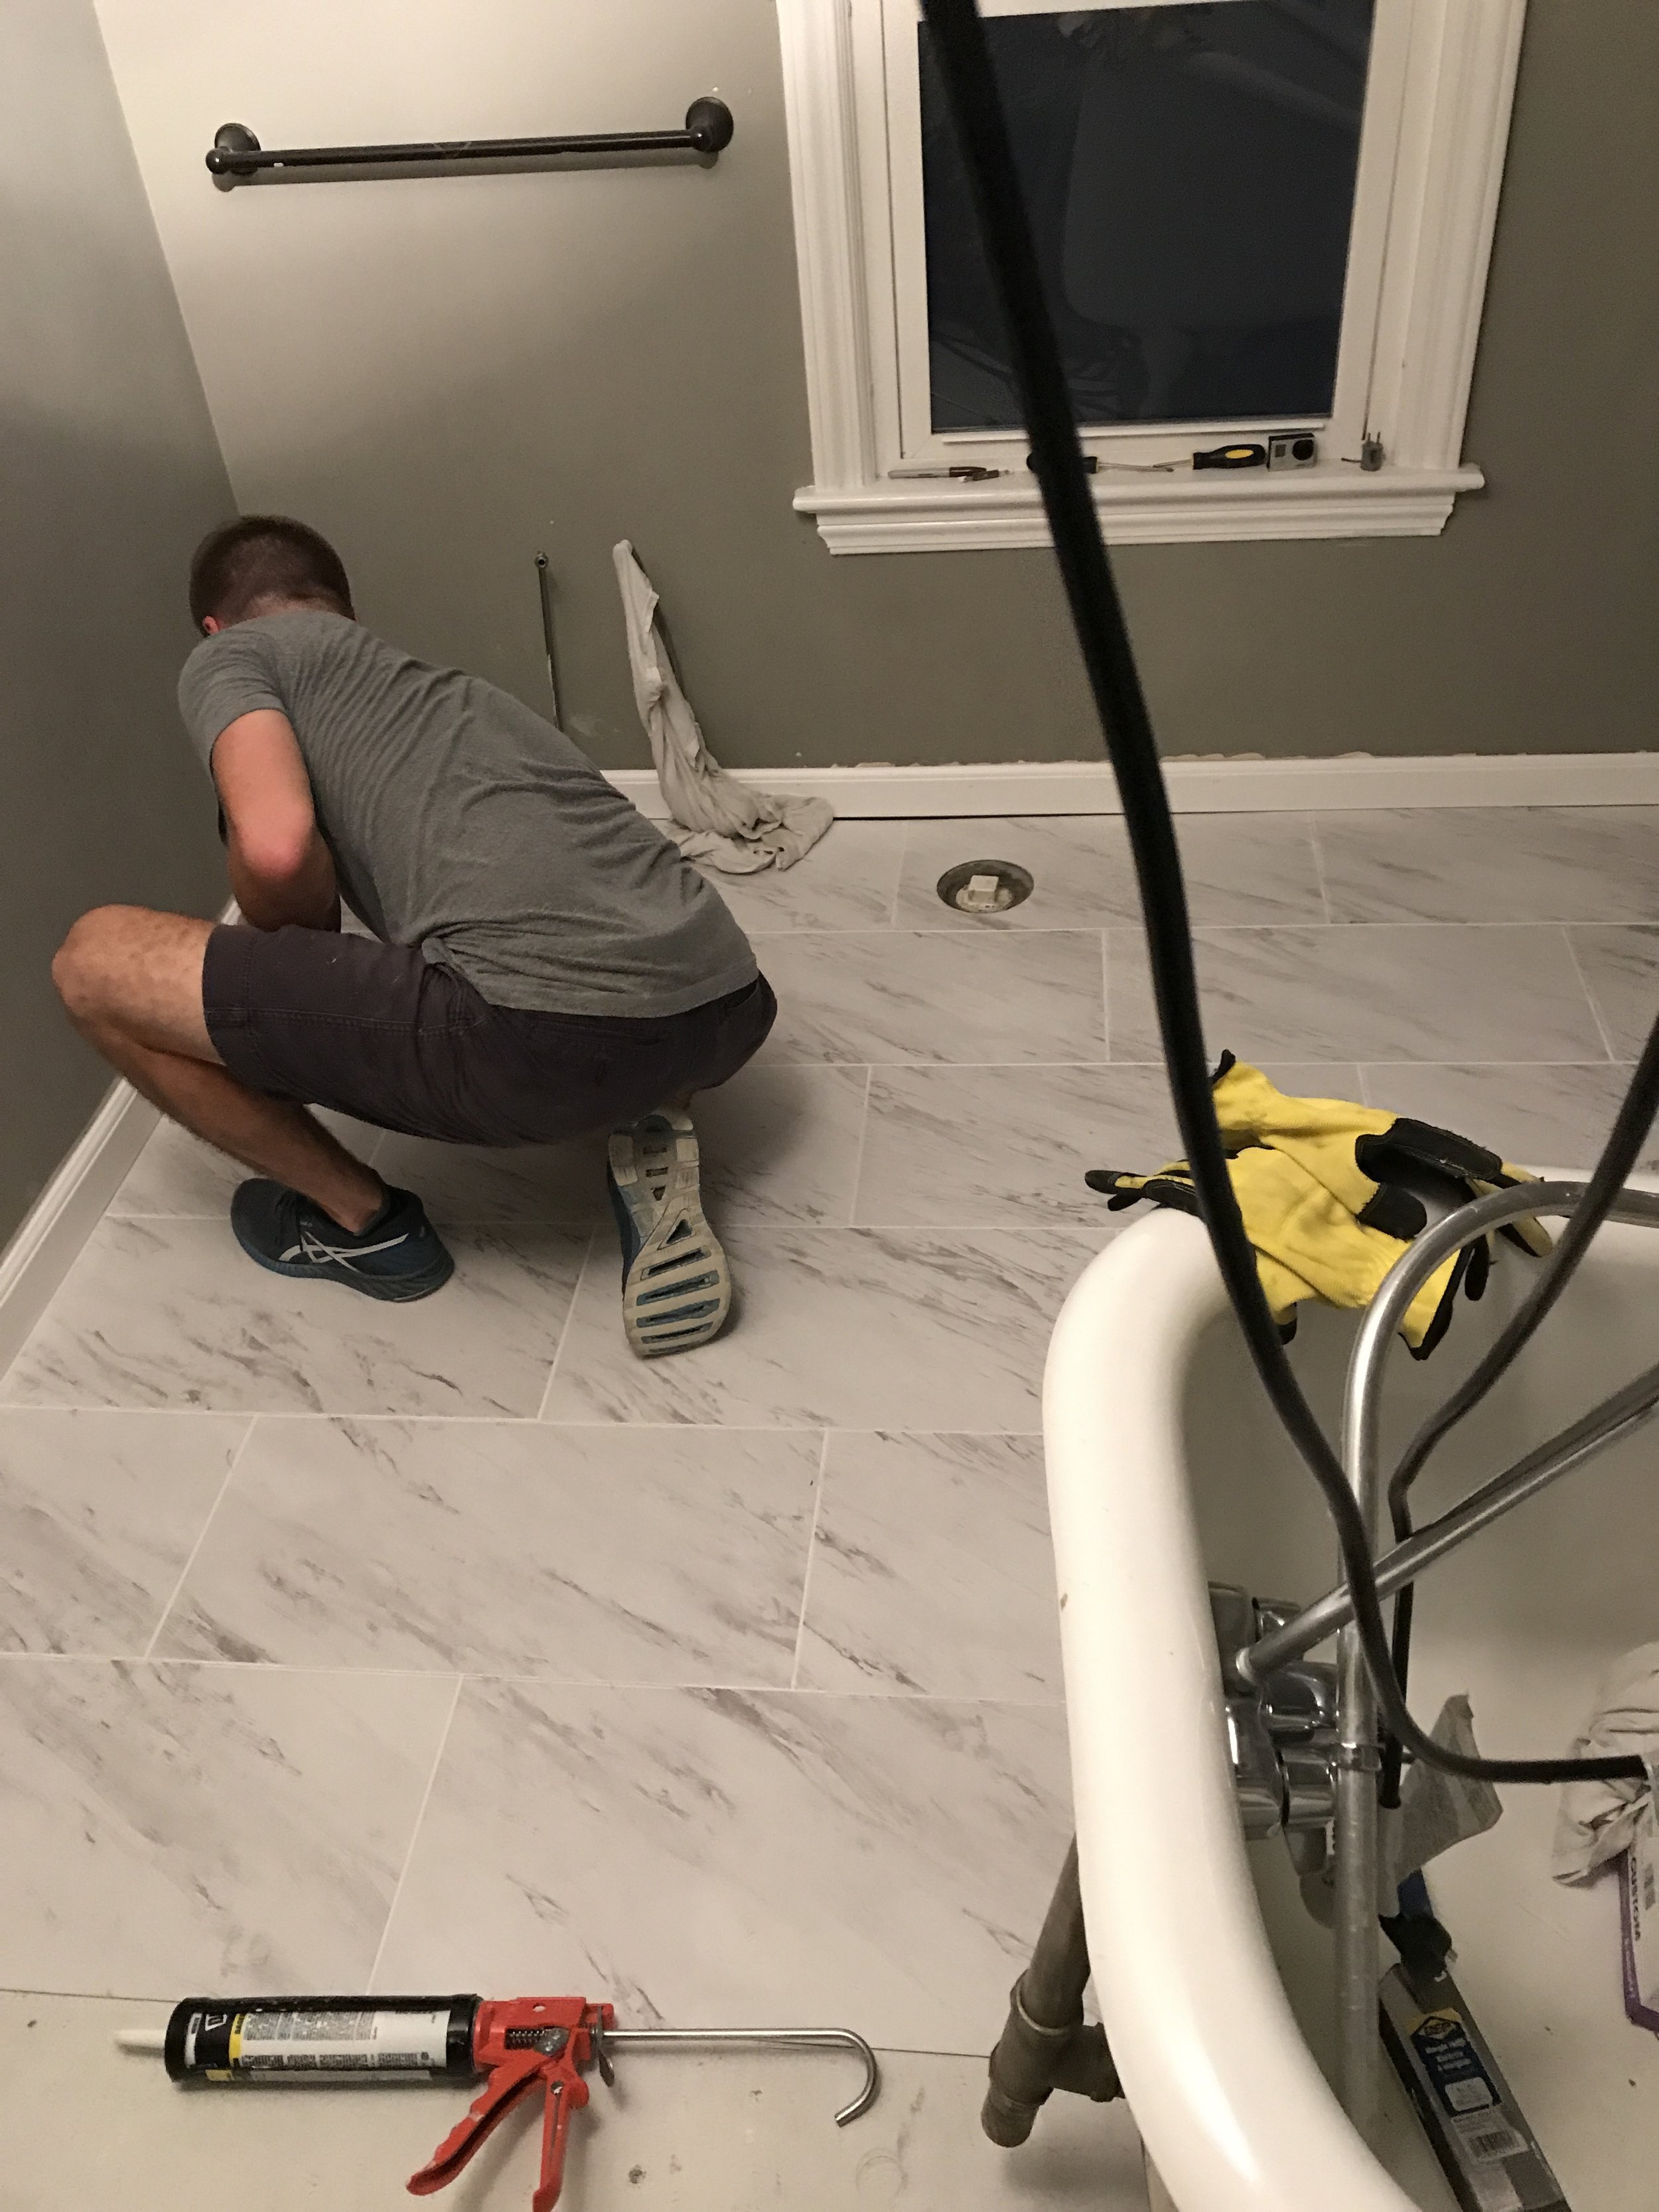
That being said, when fixing the floor we wanted to ensure we were doing it the RIGHT way so the next step was to lay down cement board so we would have more water proofing and protection from all that splashing. The last thing we would want is a leak that would eventually ruin the floor and the ceiling below (which happens to be our master bedroom!) We removed the tub (and by we I mean Evan), and moved it around the room and he laid the cement board base.

Once the cement flooring was complete, it was time to tile. As I explained in this post, we decided to go with TrafficMASTER Carrara Marble 12 x 24" Peel and Stick Vinyl Tile. Before laying the tile, we laid everything out to determine the best arrangement of the tile. Once we had determined our pattern, we primed the cement flooring according to the tile installation instructions in order to ensure the tile would stick as well as possible. Then, it was as simple as peeling and sticking the tile into place! I don't have a picture of it, but we used quarter inch tile spacers when we laid the tile to ensure they were all the exact same distance apart. We then grouted the vinyl tile in the same manner we would regular tile. Pretty easy!

We then installed the baseboard, the bathtub, and the new toilet, and put the finishing touches into place!
Here is the finished room! At first I was a little nervous about the floor looking cheap, but it seriously looks SO NICE! I can't get over how much I like it. I would recommend it to anyone looking to place a floor on a budget!

Here is another view of the before and after. Again, not a HUGE transformation, but first things first, we definitely improved the quality of the room by fixing the plumbing issues. Also, the new toilet, fixtures, paint, and decor make it more fresh and modern! Better for our guests and better for resale!
Before:

After:

I'm definitely happy we finished this project and this room!