The Fat Hydrangea

Sara Michelle - Columbus, Ohio

My Home,Playroom

Organizing the *Out of Control* Toys

PlayroomSara Michelle B.2 Comments

I'm not going to lie - this is probably one of my less interesting posts! But gosh darn it, I worked so hard on getting these toys organized that I'm writing a post about it! 

Our playroom has been OUT OF CONTROL. Maybe because we've been stuck inside for a month straight and have major cabin fever? Maybe its because we just added a dozen new toys between Christmas and Leo's birthday? Regardless of the reason), the toys and the mess have been overwhelming me. A lot.  I tried implementing a "rule" that we clean up the playroom before naps and bedtime. It makes the space clean, but it still is a problem because it takes up too much time. Time I'd much rather spend doing something else!

Seeing that the above clearly wasn't the solution to my problem, I knew I had to implement some better organizational methods with the toys in order to get our playroom under control and make it easier to maintain. 

IMG_0450-3.jpg

Before we get into that, let me SHOW you the problem. Here is our playroom on an average afternoon before nap time. Yes, this room was clean in the morning. 

IMG_0412.jpg

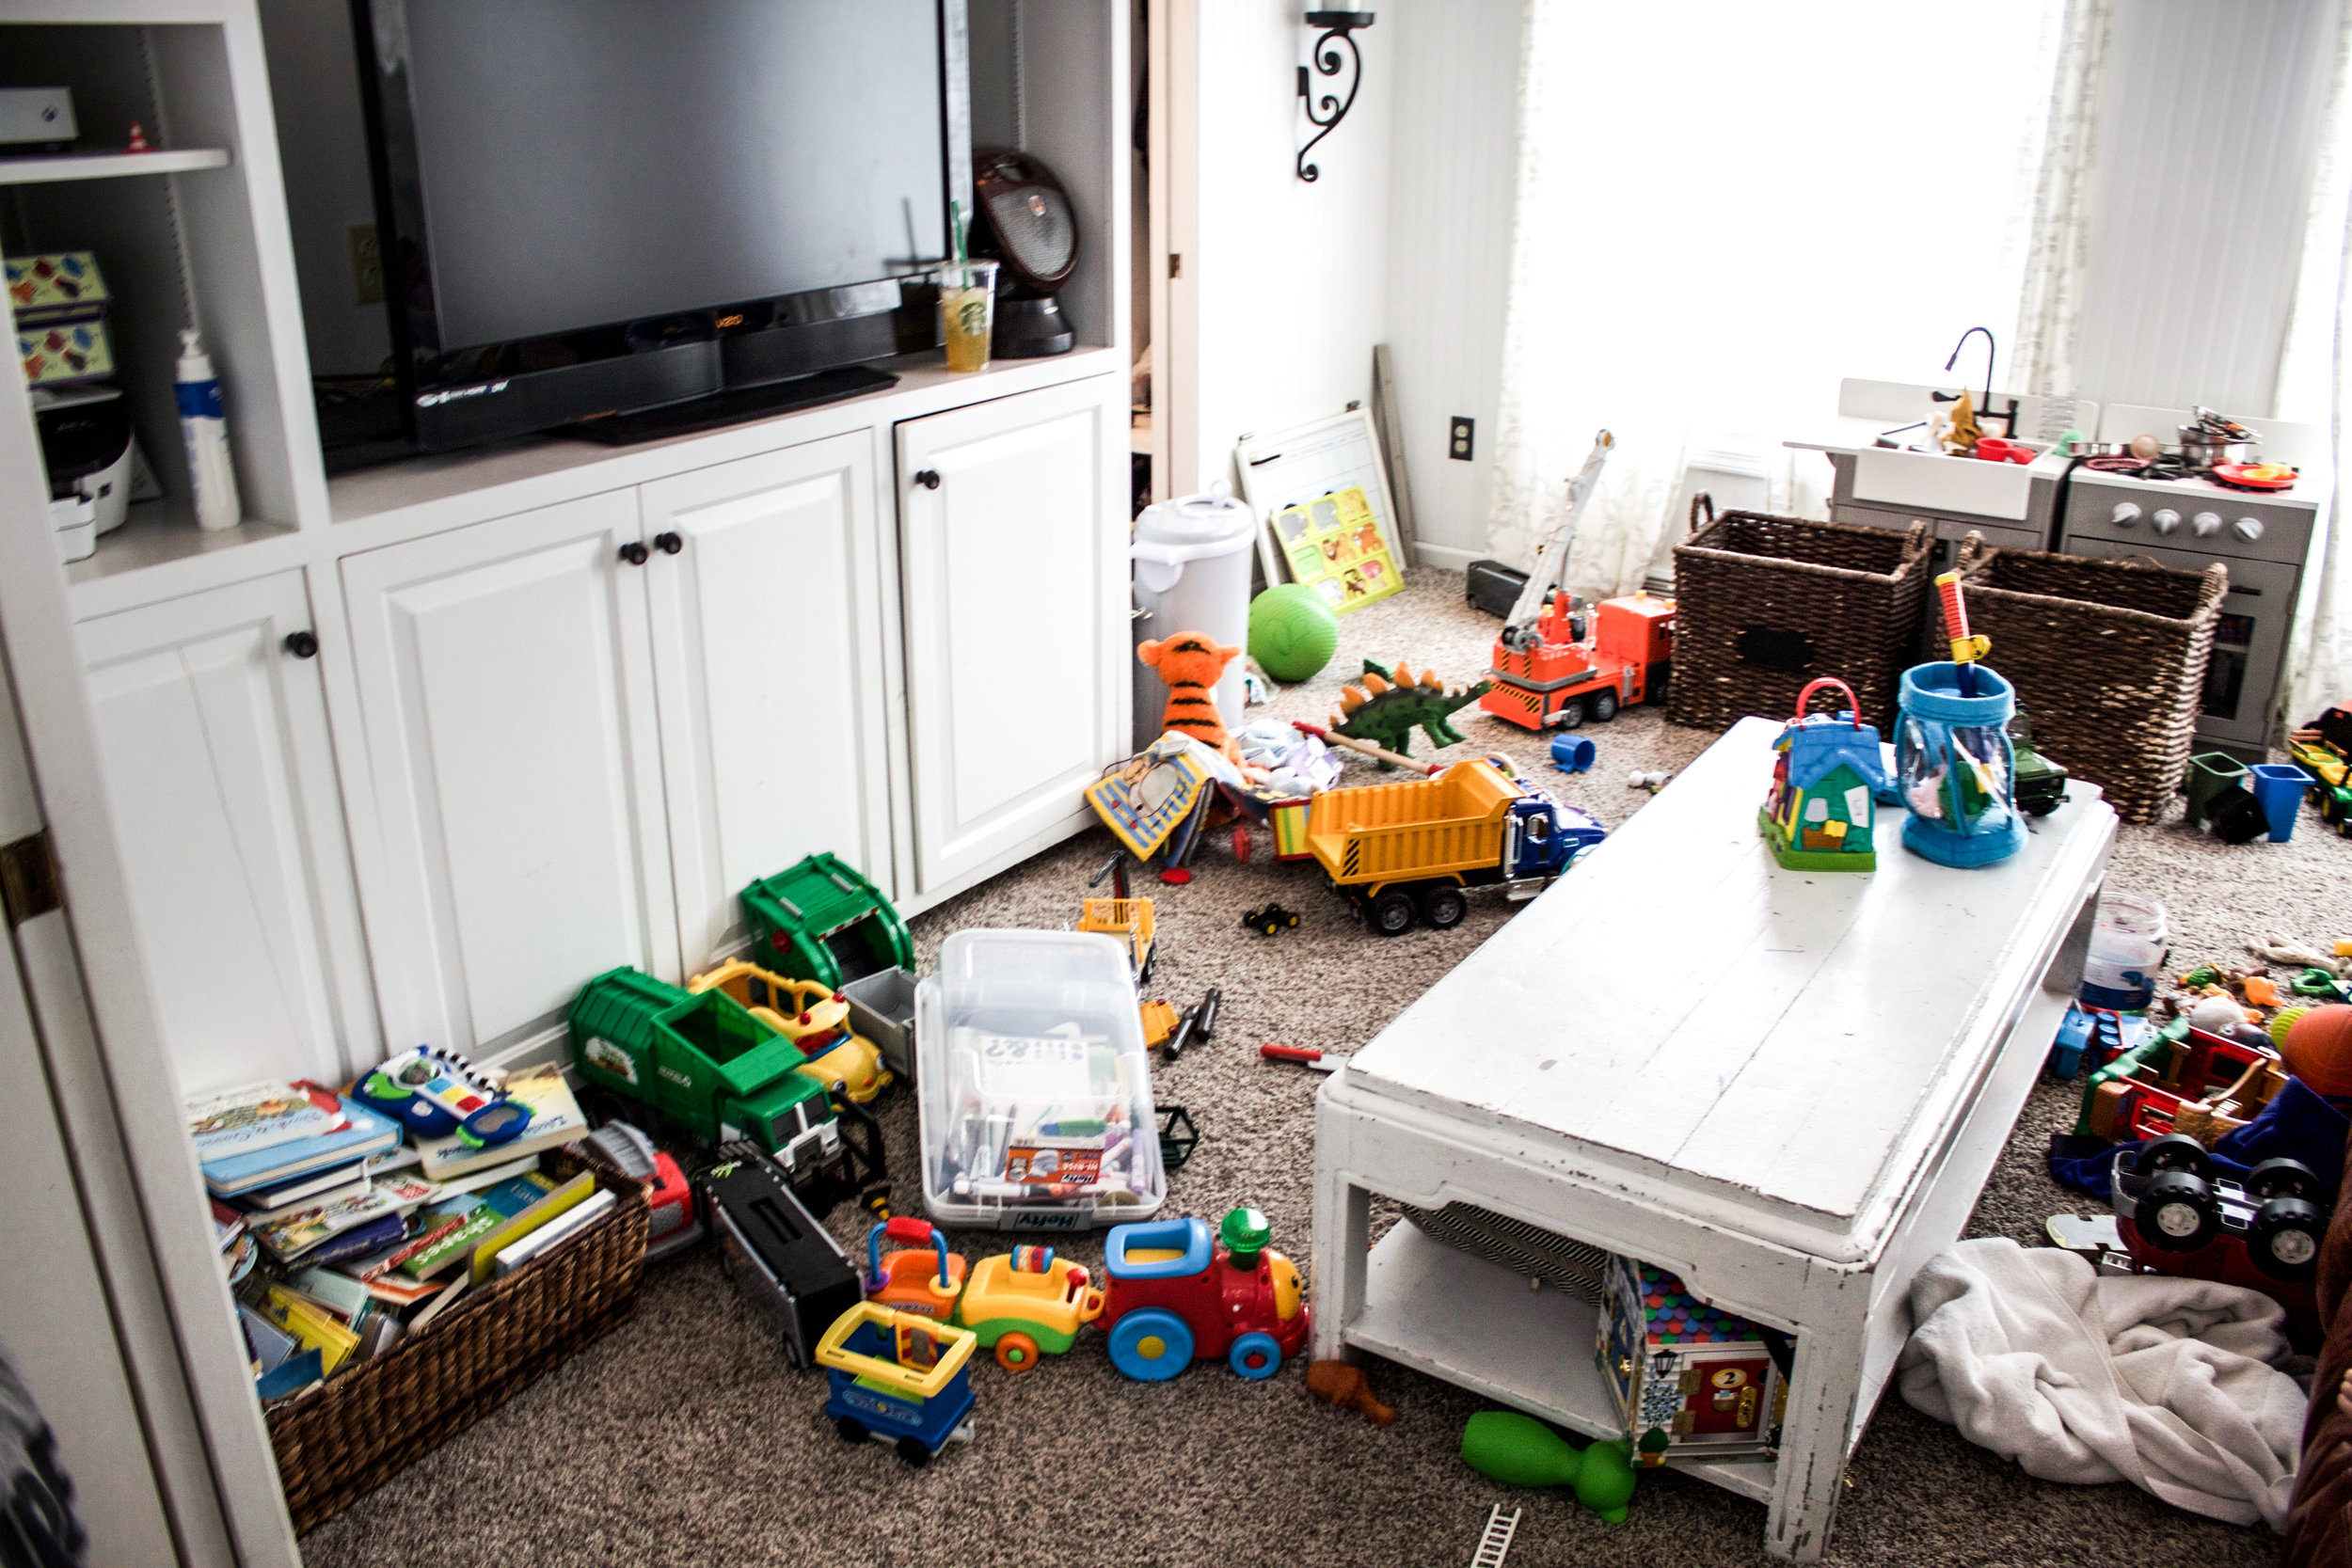
The boys usually start their day by dumping out those two big baskets, which basically - until now - have held ALL of their small toys. You'd think it would make things easier just having two large toy boxes, but what I've found as they've gotten older and the toys have gotten smaller or have more parts, is that they dump out EVERYTHING just to find the one thing they are looking for. So the mess is literally 50x bigger than it has to be, just because of the way we've been storing things. (Plus those baskets have seen better days.. yikes!) 

This room seriously gets this messy in 5-minutes flat. Leo is like a little tornado! They're lucky their so cute ;) 

IMG_0411.jpg

Anyway, now that you've seen the embarrassingly messy corner of my house, let's move on to the solution. It was a little overwhelming to begin with because honestly I didn't know where to start. I didn't even have a handle on what we had or what kind of storage we needed. That being said, I just dove in and started organizing the toys into categorical piles so I could see what I had... balls, dinosaurs, blocks, tools, trains, etc. I didn't have storage bins yet, so once everything was sorted I put them into plastic grocery bags so I could keep my piles together and get an idea of how many bins I would need and how big they should be. This helped me quantify things a TON! 

Additionally, as we organized toys we decided to donate A LOT of them that the kids just never really played with. We filled a huge box for "kids who don't have any toys." It was awesome seeing Miles understand that he was making a sacrifice to help other people and he was HAPPY to give things away to other kids. (In fact, I had to hold him back a little!) Warms my heart!

We also took two bigger bins of toys to the basement that we can rotate out to keep things "fresh" and also to help reduce the clutter upstairs. 

IMG_0418.jpg

Once this process was complete I went online to Amazon and ordered two six-packs of Sterilite 18-quart clear storage bins. Just the right size for each of my piles! Thank God for Amazon Prime and the fact these arrived 48-hours later because I couldn't wait to get the toys into the bins. 

Aren't they beautiful?

IMG_0437.jpg
IMG_0435.jpg
IMG_0430.jpg

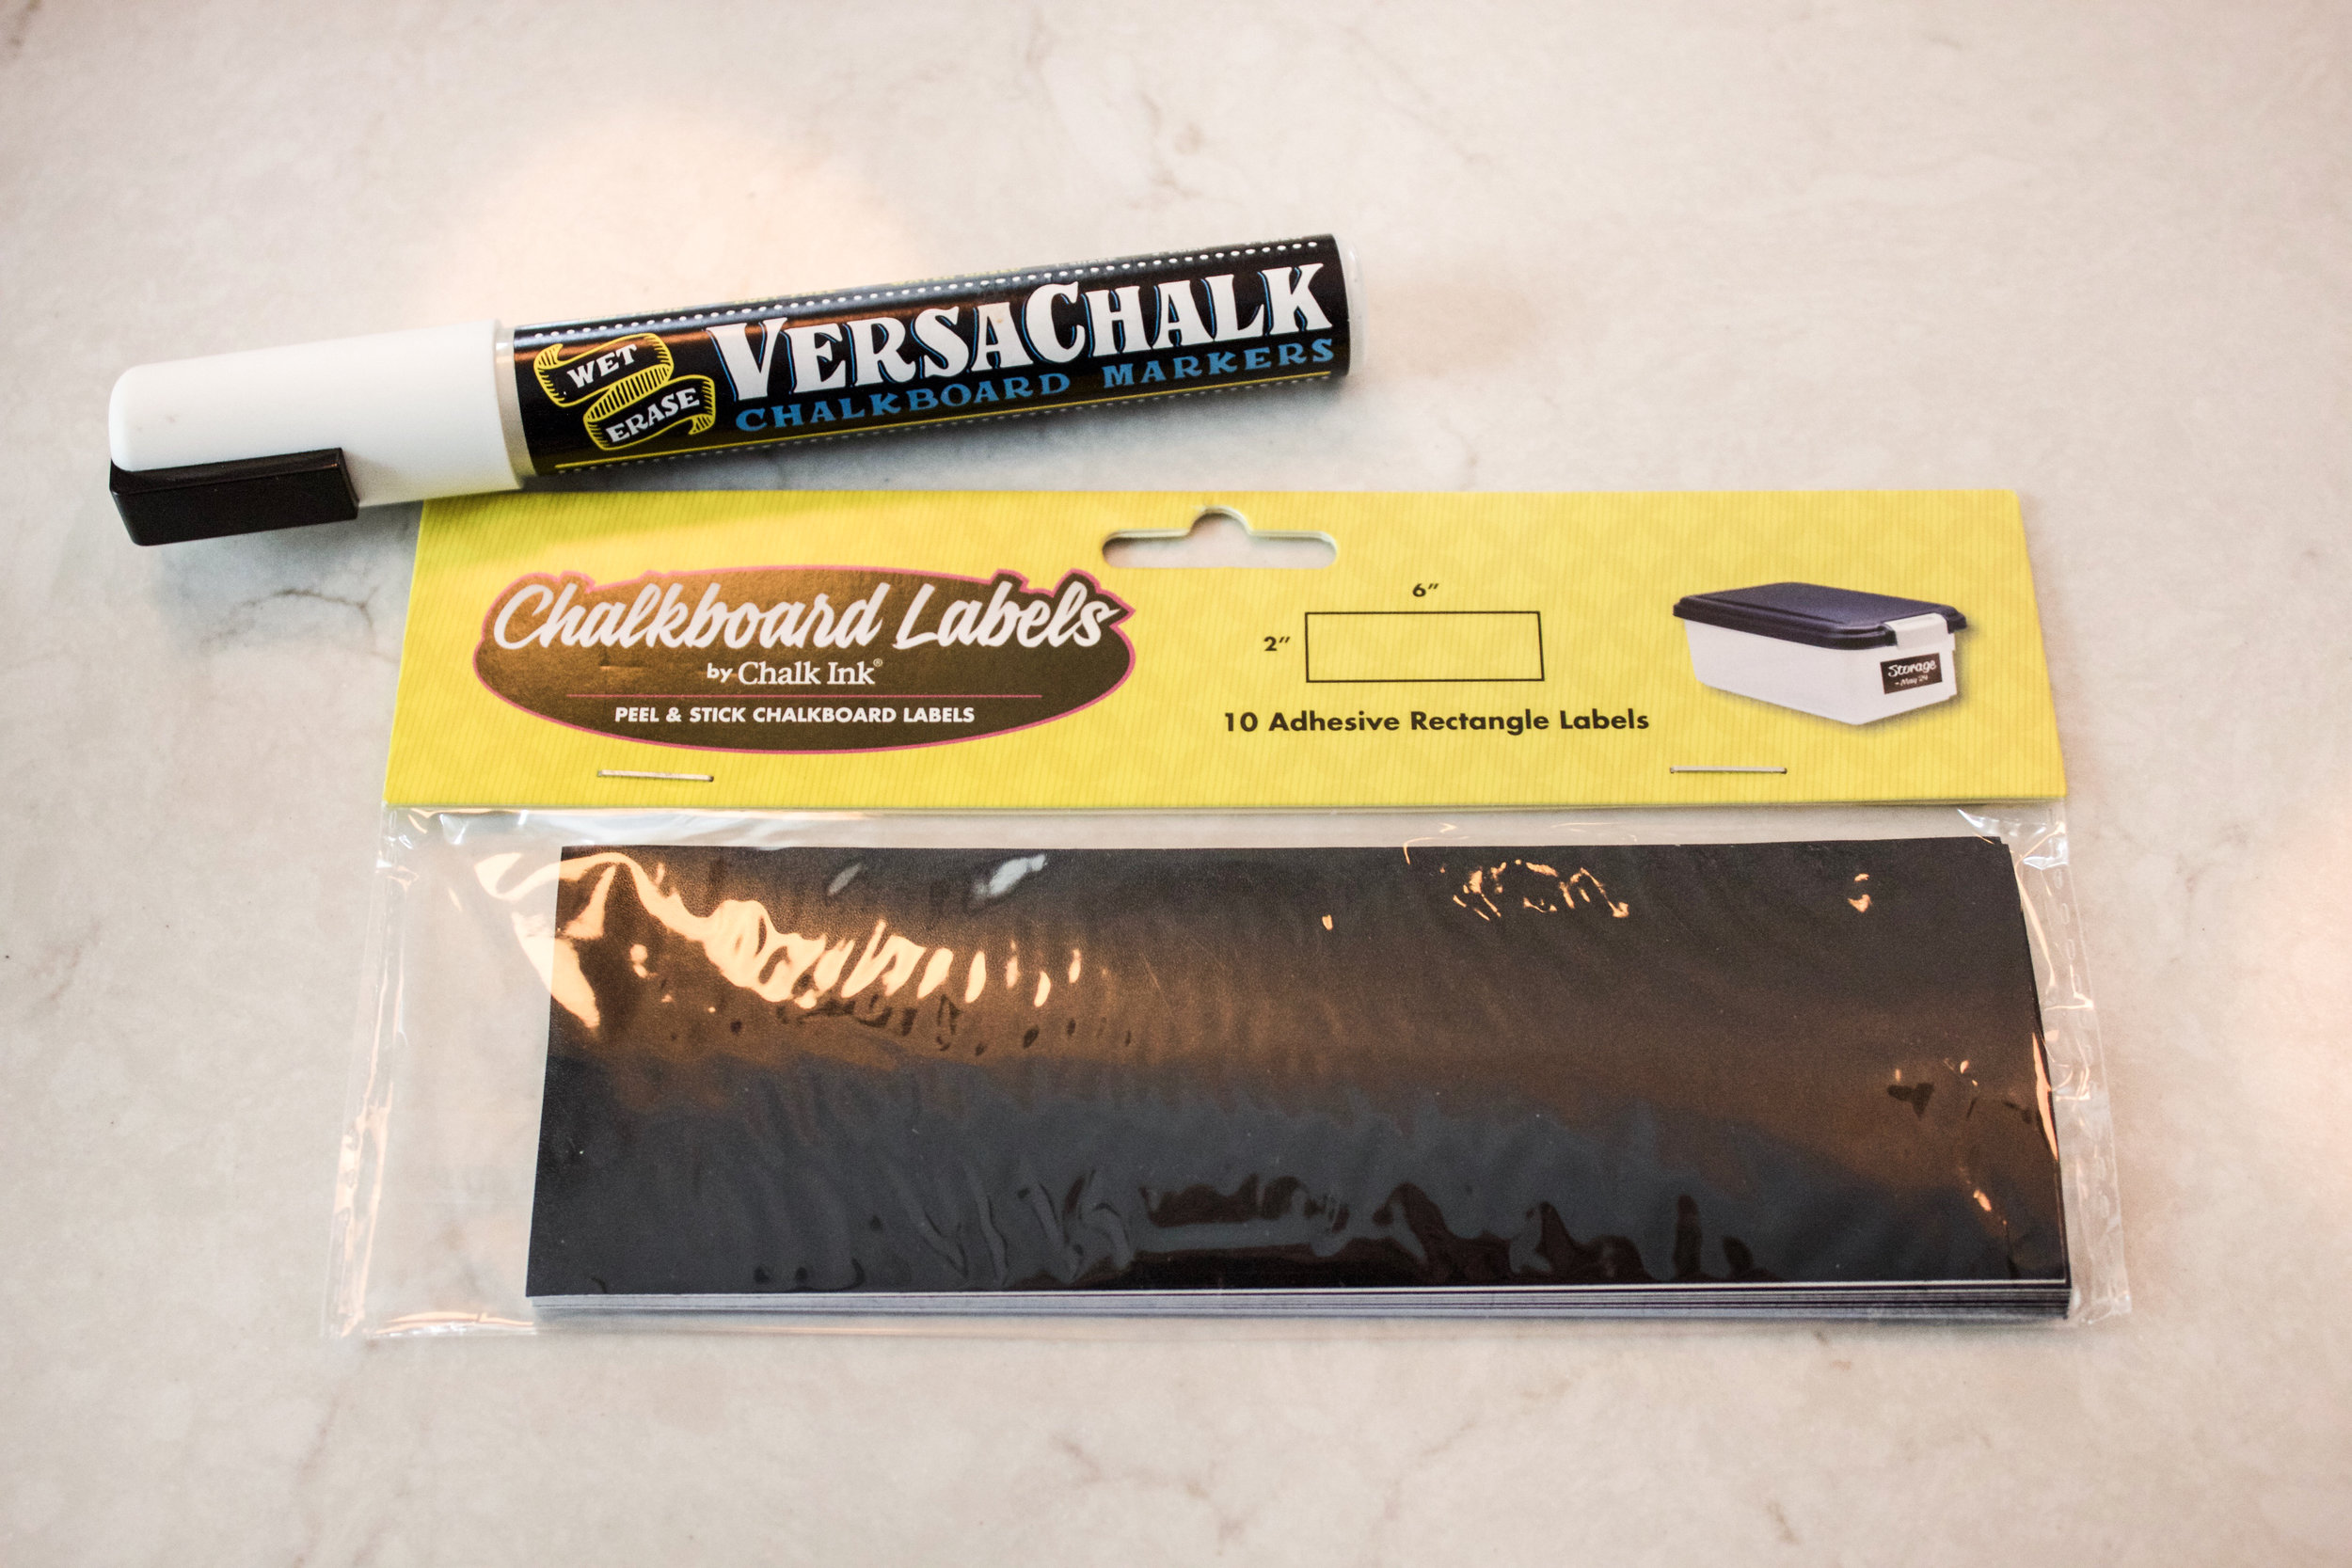
I then got these chalkboard labels from the Container Store so I could label each bin.

IMG_0440.jpg

And there we go.. a place for everything and everything in it's place! 

IMG_0449.jpg

These will be stacked and stored inside of the white built-ins in the playroom. (Right now they have big bins storing our family documents, which I need to move to our office/guest room on the 3rd floor. Lots of shuffling going on!) 

Honestly they've already been a big success. I feel like the kids are looking at their toys with fresh eyes and are way more focused/engaged when they are playing. And of course, it's a lot easier to clean up just one small bin containing 10-toys than two huge baskets with 200-toys! We're ALL thankful for that!

IMG_0450-3.jpg

Anyway, like I said, I know it isn't the most interesting post in the world but for us it was truly a game changer and a time saver! 

SHOP THE POST: 

I have a few more things in this room that we are overhauling in the near future, so stay tuned for more! 

Sara Signature The Fat Hydrangea.png
 

The Plan to Finish The Boys' Room

Kids' Rooms, My HomeSara Michelle B.Comment

It's been a couple of years since we've touched Miles' big boy room. We basically decorated it when we moved him out of the nursery, and haven't touched it since! Well, now that we will be moving Leo in there soon, we are putting some last finishing touches on the room. 

Here is where we left off:

IMG_6052.jpg
IMG_6064.jpg

In terms of what we want to do next, we recently ordered two of these beautiful Millbrook Iron Beds from RH Baby & Child! I've had my eye on them forever and just love the classic style. I think they will go perfectly with the room decor and function well for years to come. Only downside is that they are on backorder until December. Boo. We also picked out these awesome sherpa throws (in navy!) on final sale! They are SO SOFT! Miles absolutely loves it. We are also going to move the tent up to the room to make it the ultimate big boy bedroom (we've had this one for a couple of years now). 

I think that should be it and this room will be 100% FINISHED! I'm not sure I've ever been able to say that about any room in our house before - ha! Can't wait to share pictures when it is all done... In December! ;) 

Screen Shot 2017-07-30 at 10.26.29 PM.png
 

Playroom Makeover - a "Boy Cave"

My Home, Miles, Kids' Rooms, Design ProjectsSara Michelle B.Comment

So, this room has had a LOT of makeovers over the years! (You can see photos of the progression of the space here!) However, we are ready to undergo yet another one to make it more suited to being a playroom for the little guys. In fact, we have been referring to it as the "boy cave!"

I've actually always felt a little lost about what to do with this space and how to decorate it, but now that we have a true purpose for it, my vision is finally coming together!

In terms of what the makeover actually entails, we are planning the following:

  1. POTENTIALLY moving the leather couch to this room... We moved it here on a whim over the weekend and we love it! (However, now that living room is empty.. hmm... that is another post!)
  2. Getting rid of the brown paint (it does not mesh well with leather sofa.. It makes the sofa look red, which I hate!) We will be repainting the room Benjamin Moore's Polo Blue. One of my all time favorite colors! You can see in the pictures I have already painted a huge swatch on the wall above the couch.
  3. Replacing the curtains. I like the West Elm ones that are in there, but they are too feminine for the boy cave.  I am thinking I will go with these ones from Restoration Hardware Baby and Child. I already have a pillow in this fabric (see the picture below!) and I love, love, love it! (Anyone interested in buying the old West Elm ones off me? $25/panel for 6-panels!
     

For not a lot of work and not lot a big investment, we can really transform this room to make it more suitable for the role it plays.

Overall I want to have it have a similar feeling to Miles' big boy room, pictured below. I love repetition in colors and patterns through the house, and having elements that tie everything together.

DIY Baby Gate

DIY Projects, My HomeSara Michelle B.7 Comments

Our latest project was creating baby gates for the top and bottom of our stairs. I will preface this entire post by saying it was WAY more difficult than I had anticipated! Probably one of our most challenging DIY projects to date. There were a lot of steps and it took a lot of patience.

However, the gates are SUPER functional - life changing - and I'm so happy with the result! They look good and blend in with the style of our house seamlessly. Additionally, they are strong and sturdy. The store bought ones we used were so ugly and didn't fit well and I never truly had peace of mind. These ones are awesome. At the end of the day, they are definitely worth all of the hard work!

Below I have included a detailed list of the products and materials we used, along with the process we used to make them. (You may want to pour yourself a glass of wine as you read this! Lol)

Materials:
- Varathane wood stain (kona) 1 quart
- Varathane Triple Thick polyurethane 1 quart
- Kilz primer
- White paint
- 4 paint brushes and a rag or paper towels for the stain
- Wood glue
- 60 and 120 grit sand paper
- Door jam trim piece 32" long (find in the molding aisle, this is the trim that doors close against on the interior of a doorway)
- Cabinet hinges: Everbuilt oil rubbed bronze 2-1/2"x 1-9/16" (pack of two)
- Slide door bolt:  First Watch Security 2" oil rubbed bronze
- Oak boards:
(i) two 0.5"x 2.0" boards 11 ft long (for the posts, cut into ten pieces 2 ft long each, save a 6" piece for later, includes an additional 6 inches for scrap);
(ii) one 1"x 4" board 12.5 ft long (for the frame, includes 6" for scrap); and
(iii) one 1" x 4" board 32" long (install against the wall and attach the gate to it)

Power Tools:
- Miter saw (required)
- Power screwdriver (required)
- Table saw (optional)
- Power hand sander (optional)
- Router (optional)
- Nail gun (optional)

Optional alternatives provided in instructions

IMG_6509.JPG

Instructions:

1) Measure width of gate, from wall to inside of stair railing post and subtract 1/2" for the wall mount
2) Cut two pieces to this width from the 12.5 ft board.  These are the top and bottom pieces of the gate frame
3) Cut two 24" pieces from the 12.5 ft board.  These are the sides of the gate frame.
4) Cut ten 24" pieces from the 11 ft board.  These are the gate posts.
5) If you have a table saw, use the table saw to make 1/4" tongues on the ends of each post and the ends of the 24" side frame pieces.
6) If you have a router, cut grooves in the top and bottom frame pieces where the side frame pieces and posts will go. It takes time to ensure that the frame is square and the posts are parallel and equally spaced apart.  Do not glue the pieces together yet.

If you don't have a table saw and router, purchase a pack of twenty 1/4" dowels with a cheap doweling kit (around $5), and use dowels to attach the posts and frame pieces.  This will be time consuming but a less expensive alternative to a table saw and router.

7) Sand each piece, start with the 60 grit, then 120 or higher grit
8) Stain and poly the frame pieces per the product instructions
9) Prime and paint the posts
10) Glue the side frame pieces and posts into the bottom frame piece
11) Glue the top frame piece on to the posts and side frame pieces
12) Install hinges to the gate.  If you have a router, install 1/8" recessed pockets for each hinge
13) Wall mount - If you have a router (and if desired) add decorative beveled edge to wall mount, otherwise leave it square
14) Use nail gun (or power screwdriver) to install wall mount
15) Use power screwdriver to attach gate to wall mount.  If you have a router, install 1/8" recessed pockets for the hinges in the wall mount
16) Close gate and measure where to install latch.  Follow latch installation instructions included with purchase.

As you can see on our upper gate, we had to get a little creative with the bottom of the gate in order to work around the stair molding. Essentially, we added an extra base piece of trim.

Whew! If you read that all the way through, God bless you! Love them, but a lot of work!