This post is LONG overdue! I think I delayed because I wasn’t thrilled about the quality of the pictures I had, but still, I am thrilled with the result of this room so I’m sharing it anyway! :)
That being said, here’s the full transformation of the walls of Miles’ room that I did last summer. What a difference! Definitely took the space from being builder basic to one that is cozy, special, and perfect for a growing boy.

The first thing I did was paint the walls. I chose my FAVORITE color navy - Benjamin Moore’s Polo Blue. It is dark and rich, and I love it! Personally, I’m a fan of dark walls in kids rooms because I swear it helps them sleep better! (At least for my kids, none of whom seem to have ever been great sleepers!)
Also, if using a dark color, I always recommend using a flat finish. Even with brand new walls, there are imperfections and the flat paint is way more forgiving with a dark color that could otherwise show every flaw or stroke.

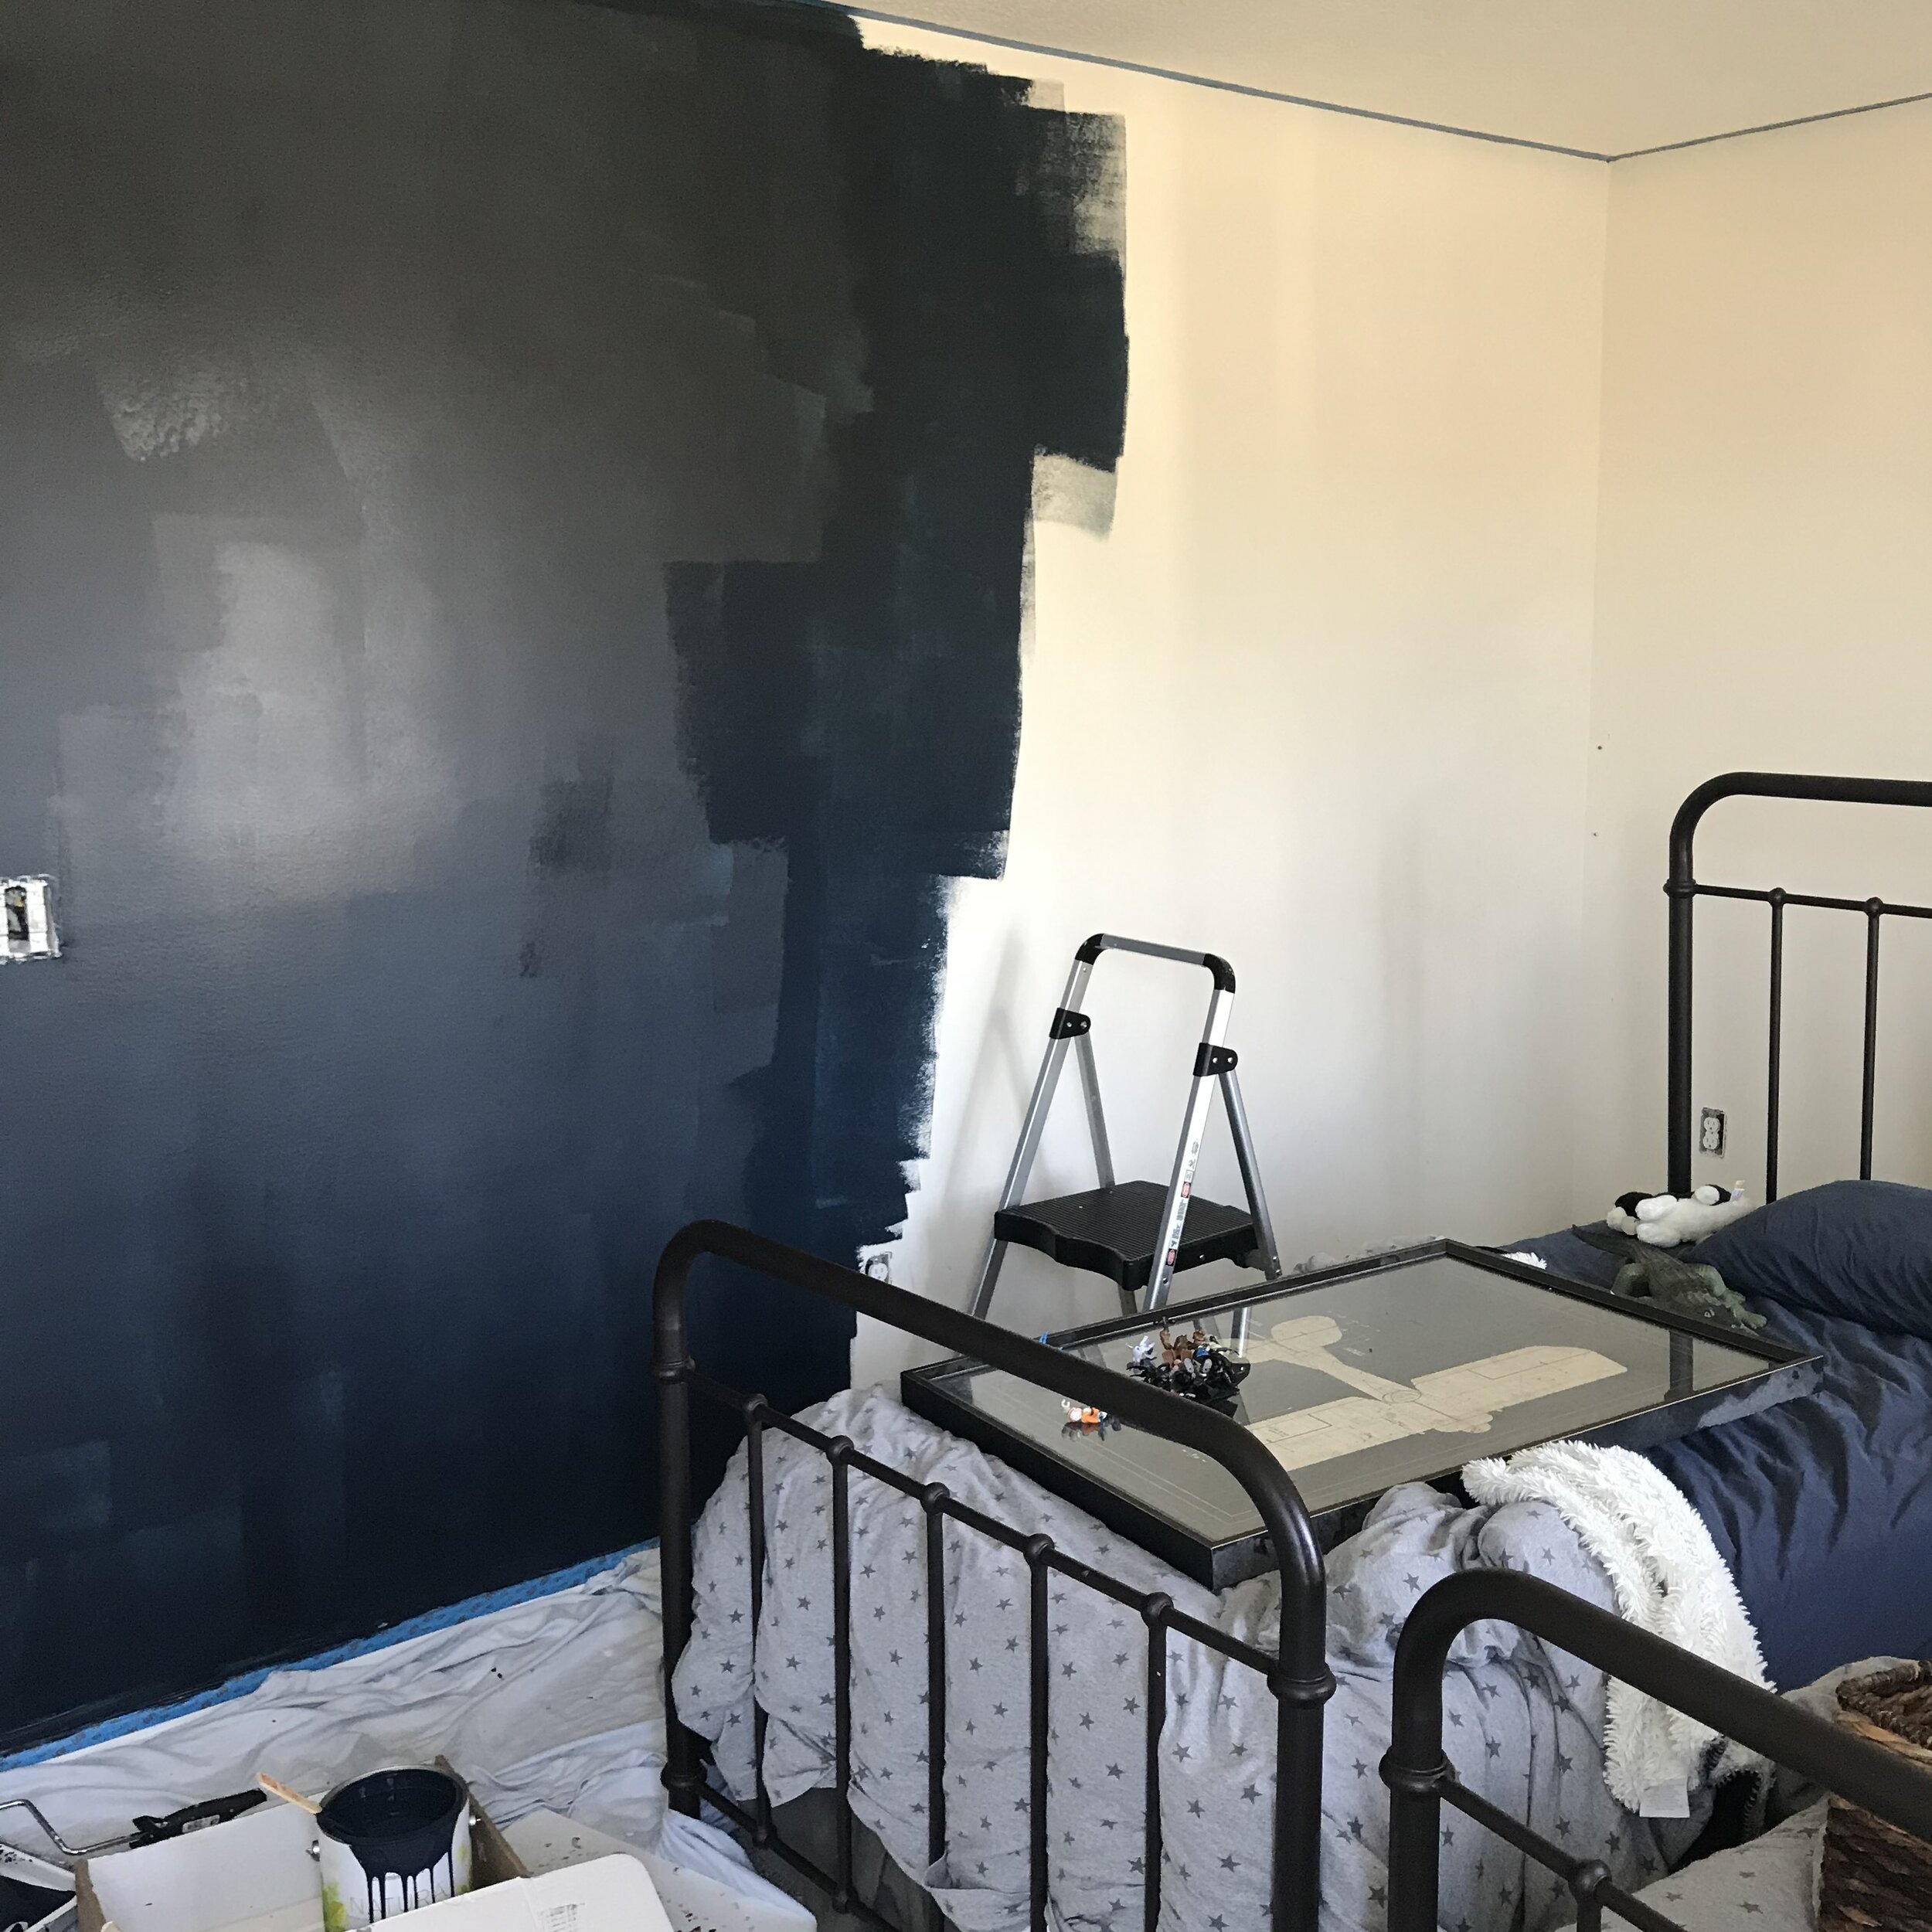
Even just painting the walls had a huge impact!

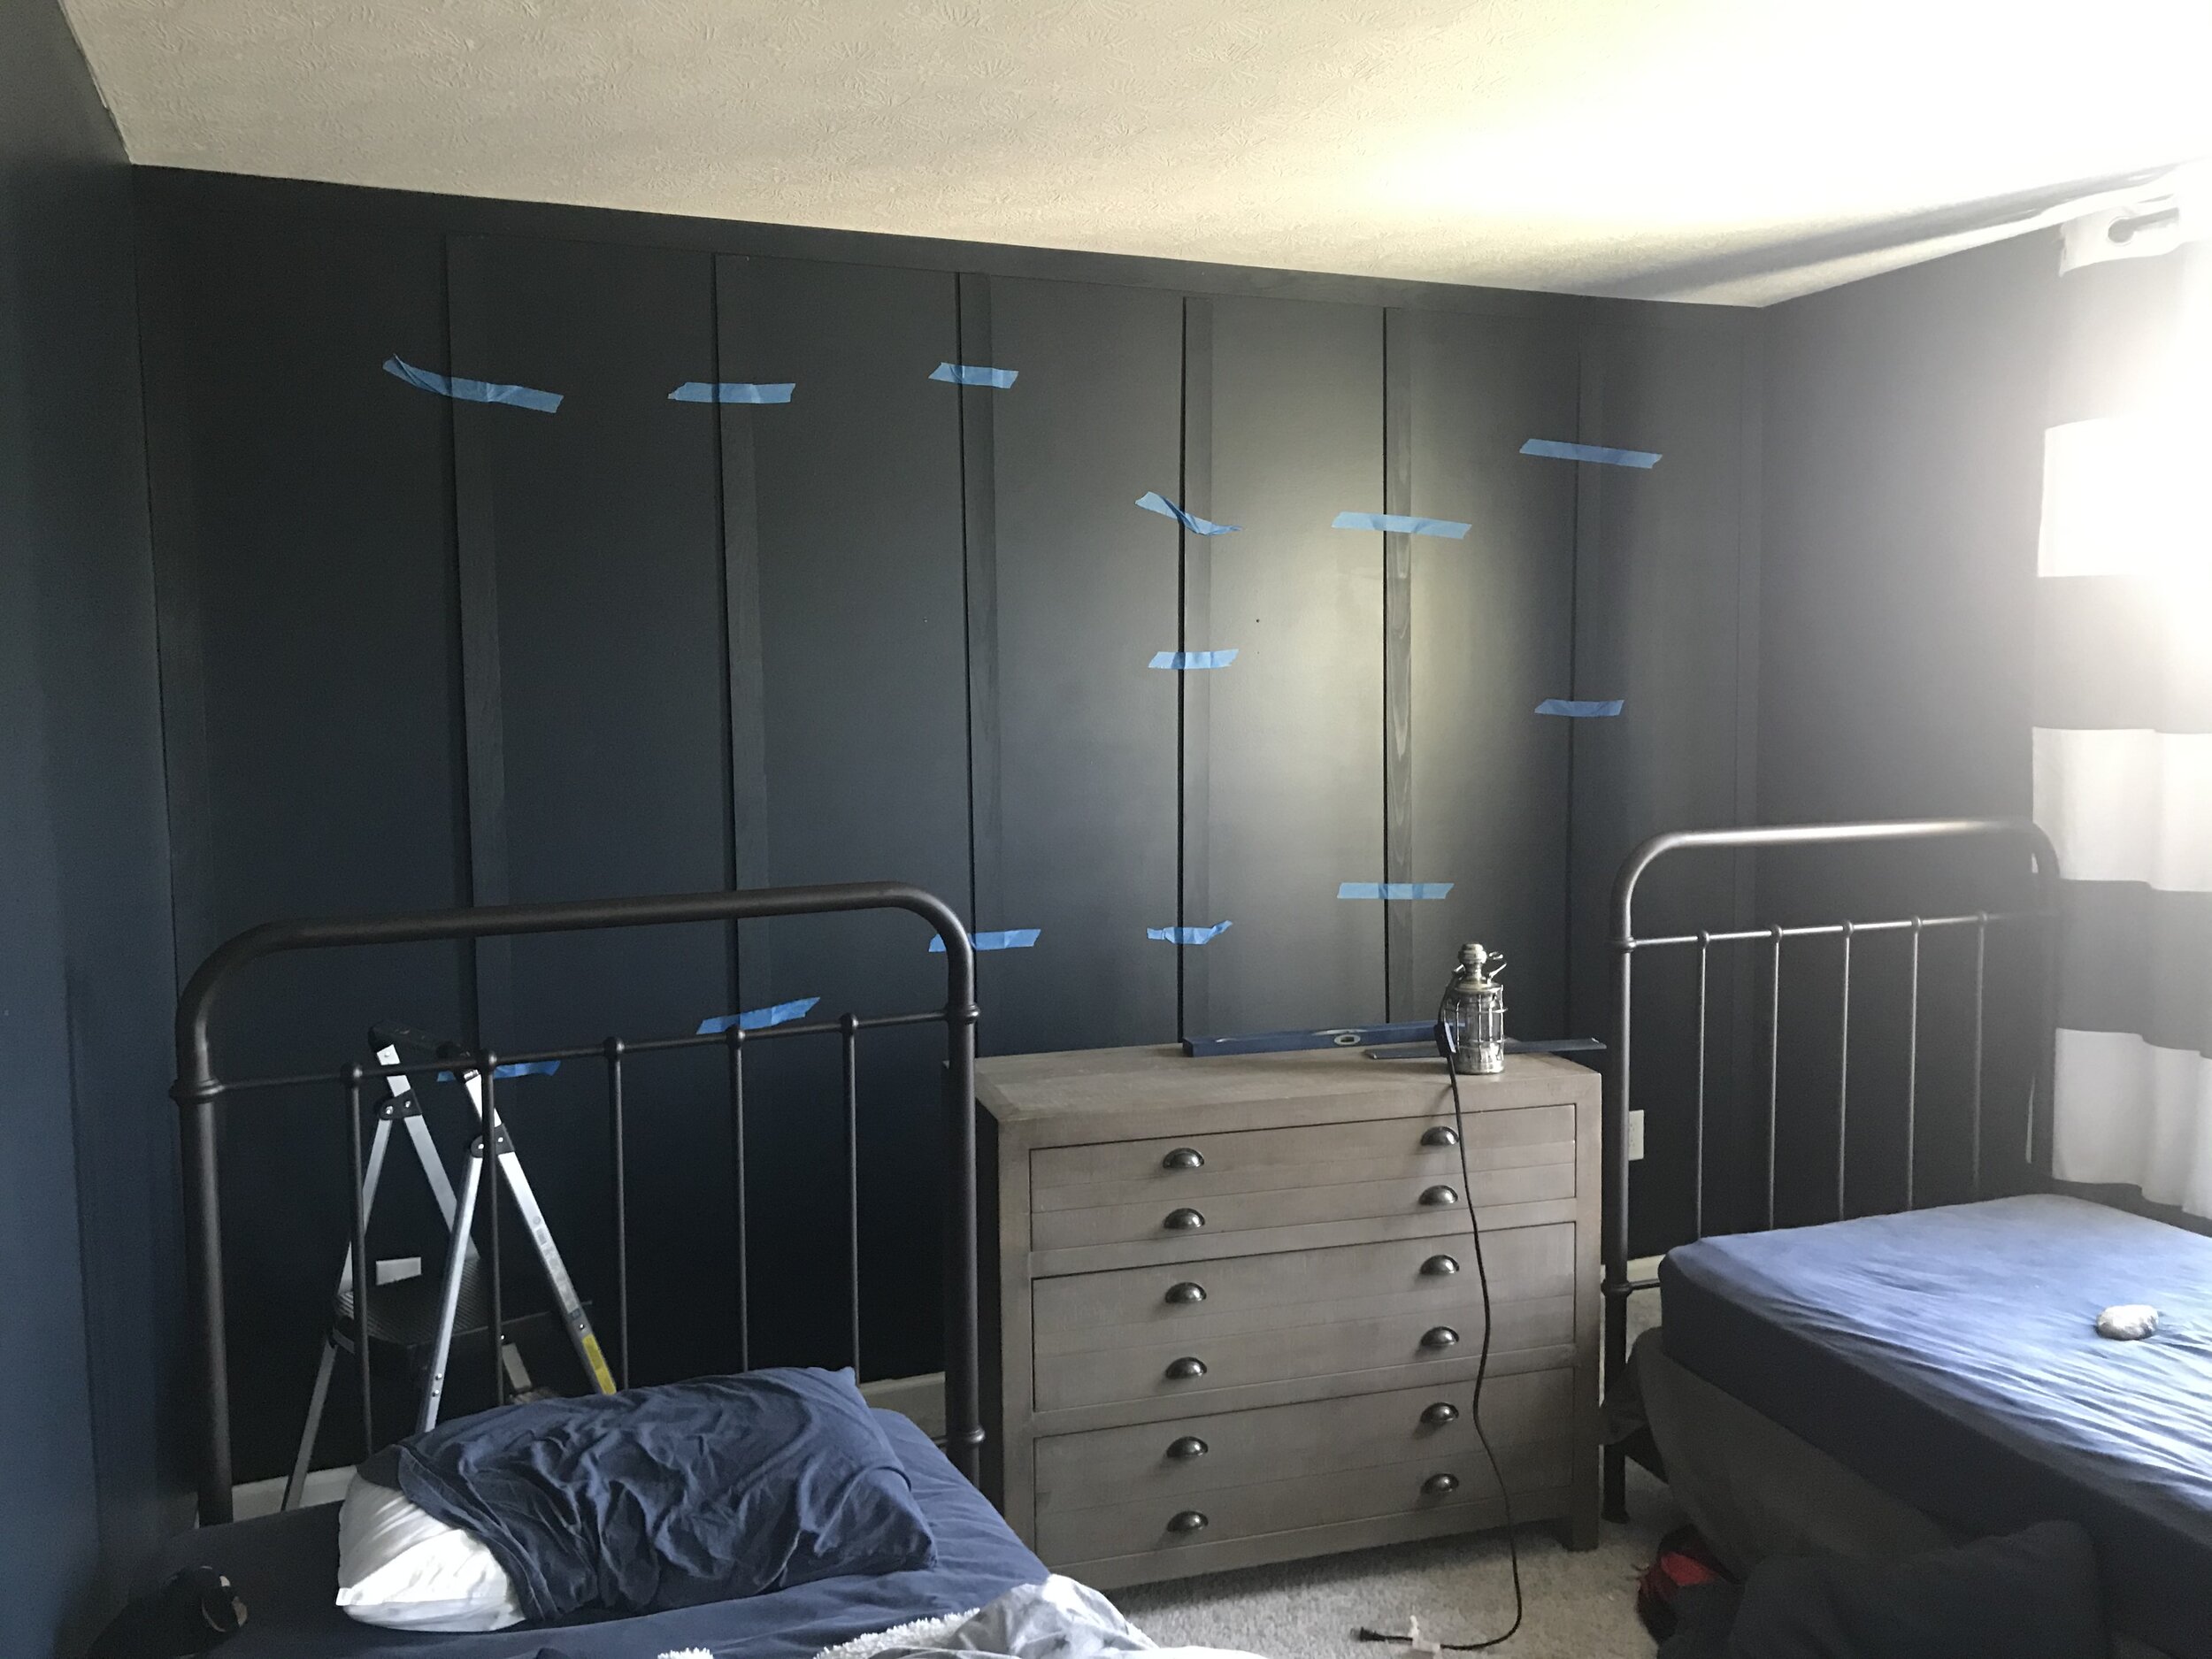
Next, I decided that I wanted to do some board and batten detail against the back wall to add a little interest. There’s lots of different ways to do board and batten, and I knew that I wanted one that was semi-wide, but also VERY thin so it could rest on the current baseboards, as I did not want to have to rip those out and replace them. That being said, I went to Home Depot and got the wood below - a 1/4 x 2 1/2 inch General Purpose Pine lattice. It worked PERFECTLY and wasn’t super expensive!


I did a rough cut at the store to get it close to 8 ft (the height of the ceiling), and then laid them out against the wall where I wanted them to finalize my vision.


I then took all the boards down to the garage and put a couple coats of paint on them!
Then, they were ready to install! I started with a long board against the top of the ceiling and two along the very edges of the wall at the corners. Framed the room so nicely! From there, I finalized the spacing of the boards by taping them to the wall, and making any minor cuts I needed to make to get each board to fit just right in it’s particular spot. (Even with a new house, once again, they were not all 100% exact, so I highly recommend measuring board by board!)
I then went to town with my nail gun and got the boards mounted!
The navy board and batten against the navy wall is subtle, but I love the dimension it adds to the room! Just makes it feel so special.


SO! There you have it! :) Miles’ room is complete! He loves it now and I see it growing with him and him loving it for years to come. (Which is good, because these boys grow SO FAST!)
BTW - beds, dresser, bedding, and artwork is all from RH baby and child. Rug is from PB outlet.
Hope you love it as much as we do!
