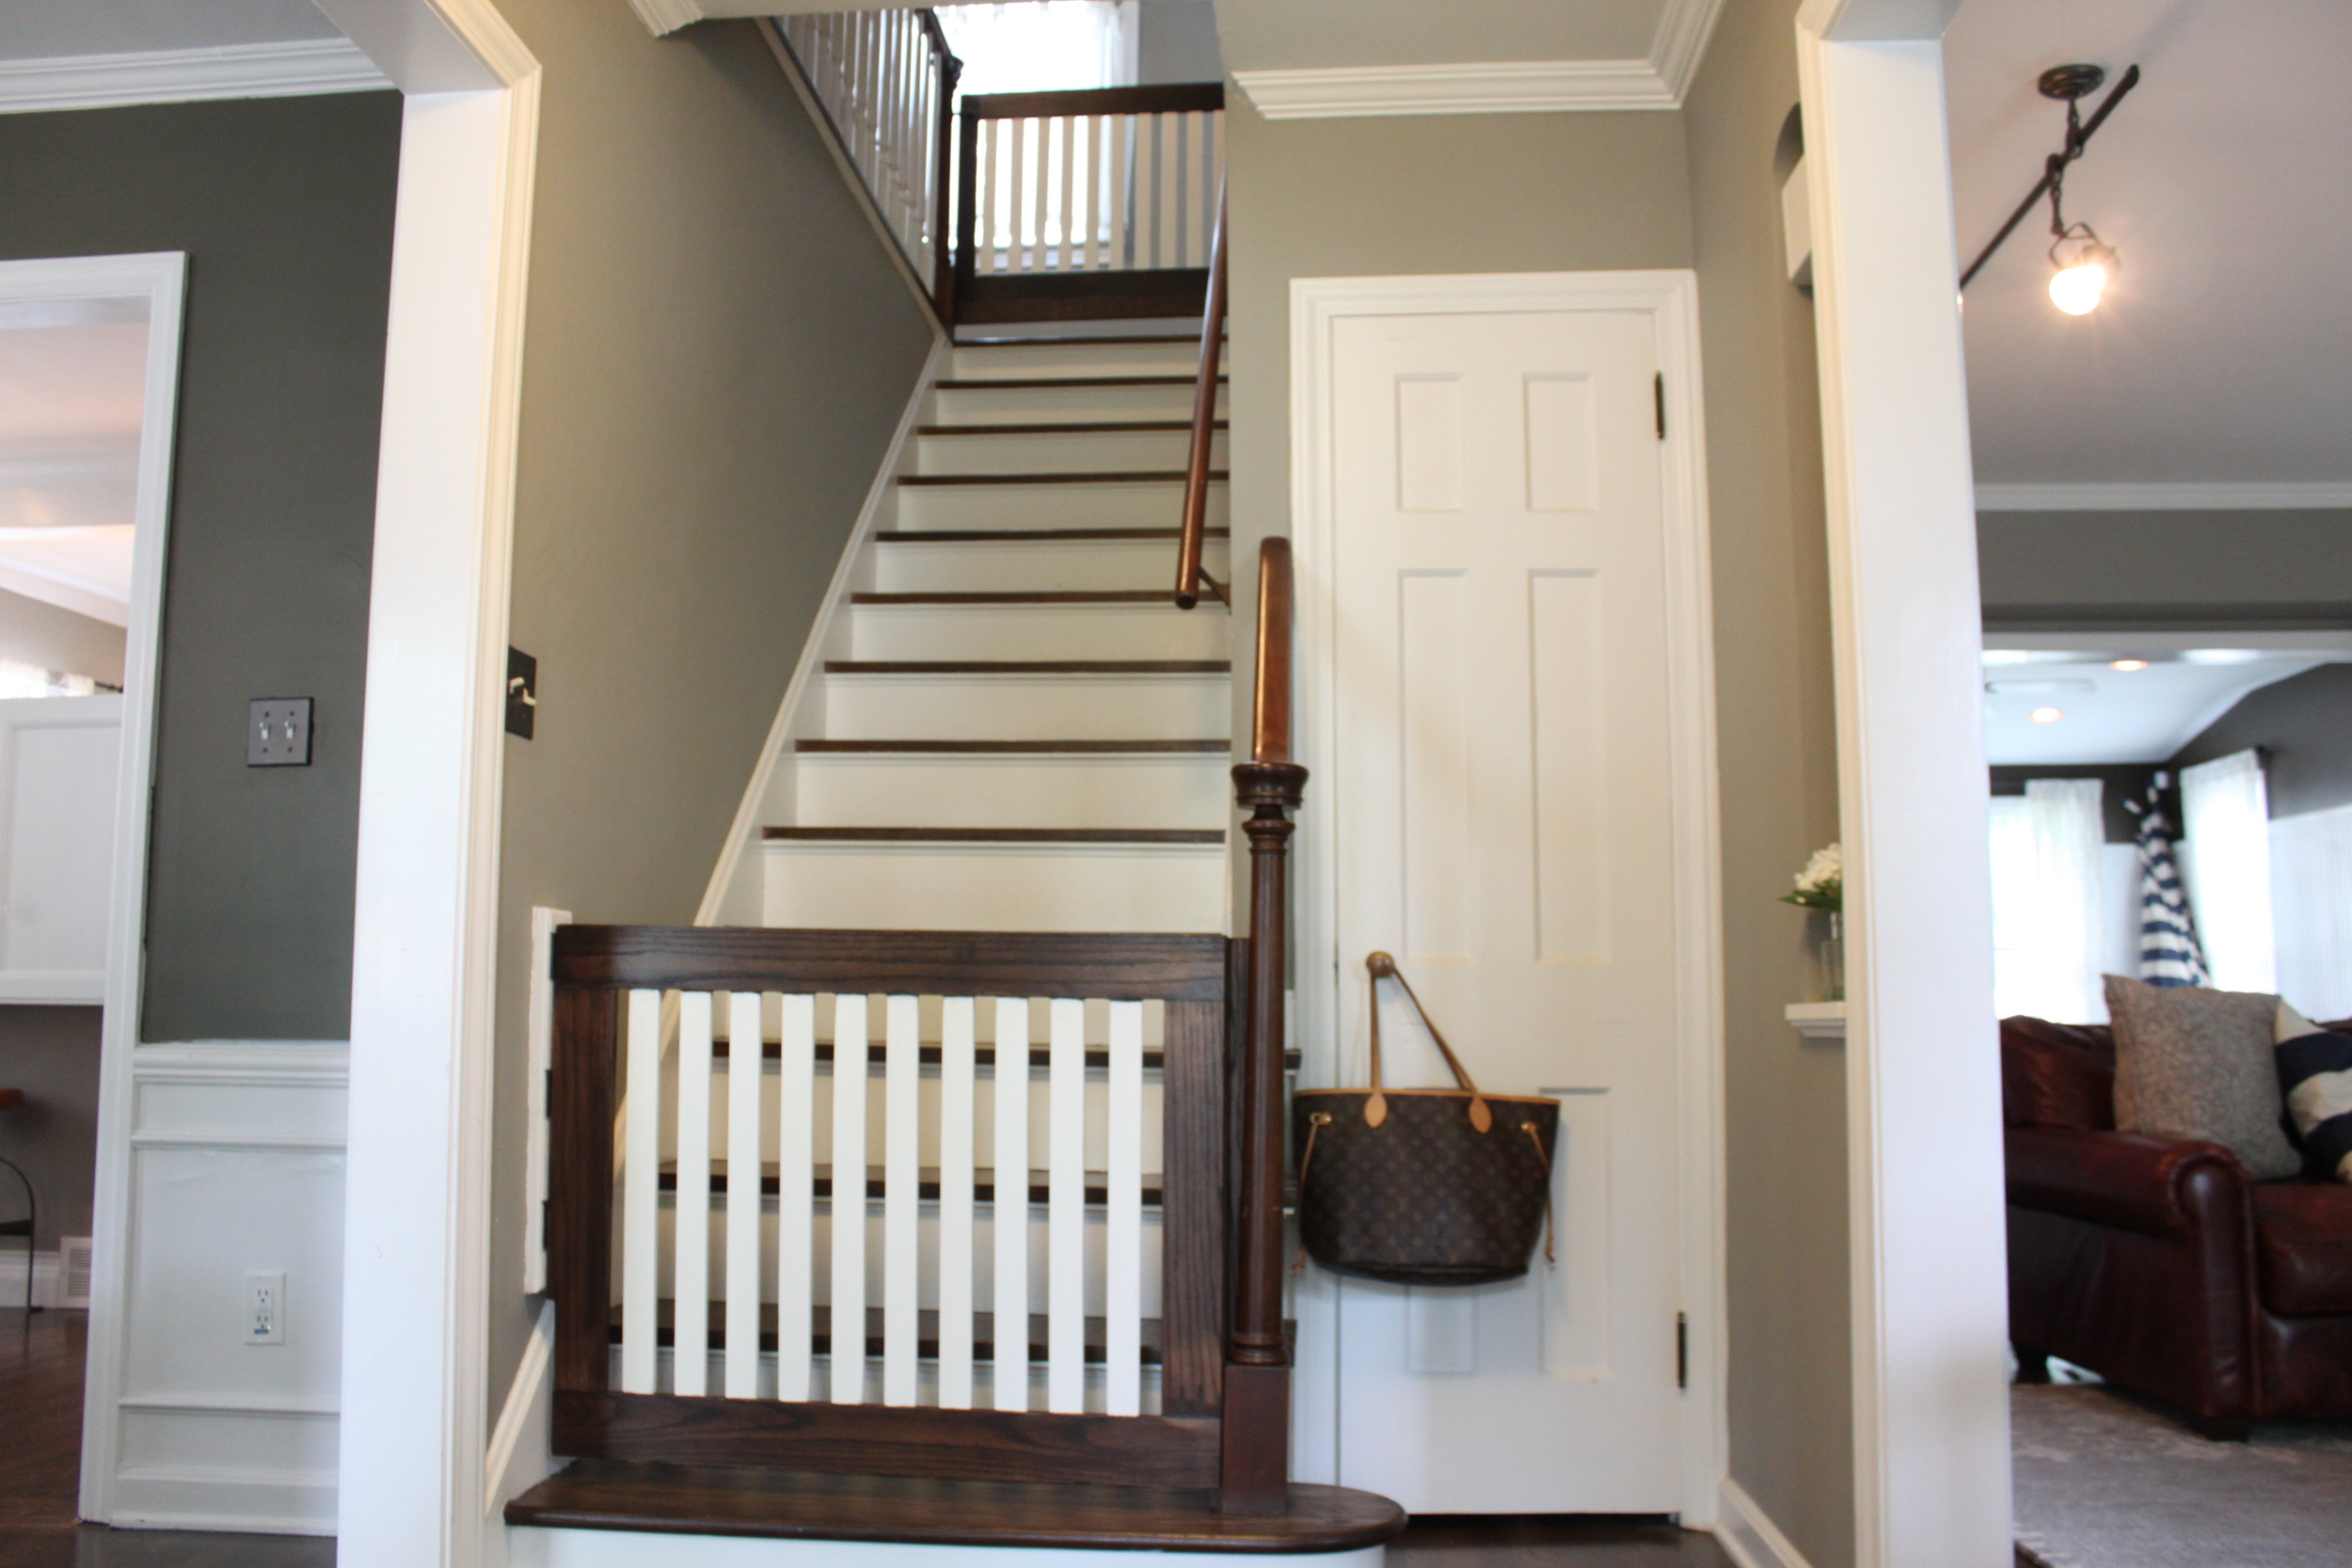
Our latest project was creating baby gates for the top and bottom of our stairs. I will preface this entire post by saying it was WAY more difficult than I had anticipated! Probably one of our most challenging DIY projects to date. There were a lot of steps and it took a lot of patience.
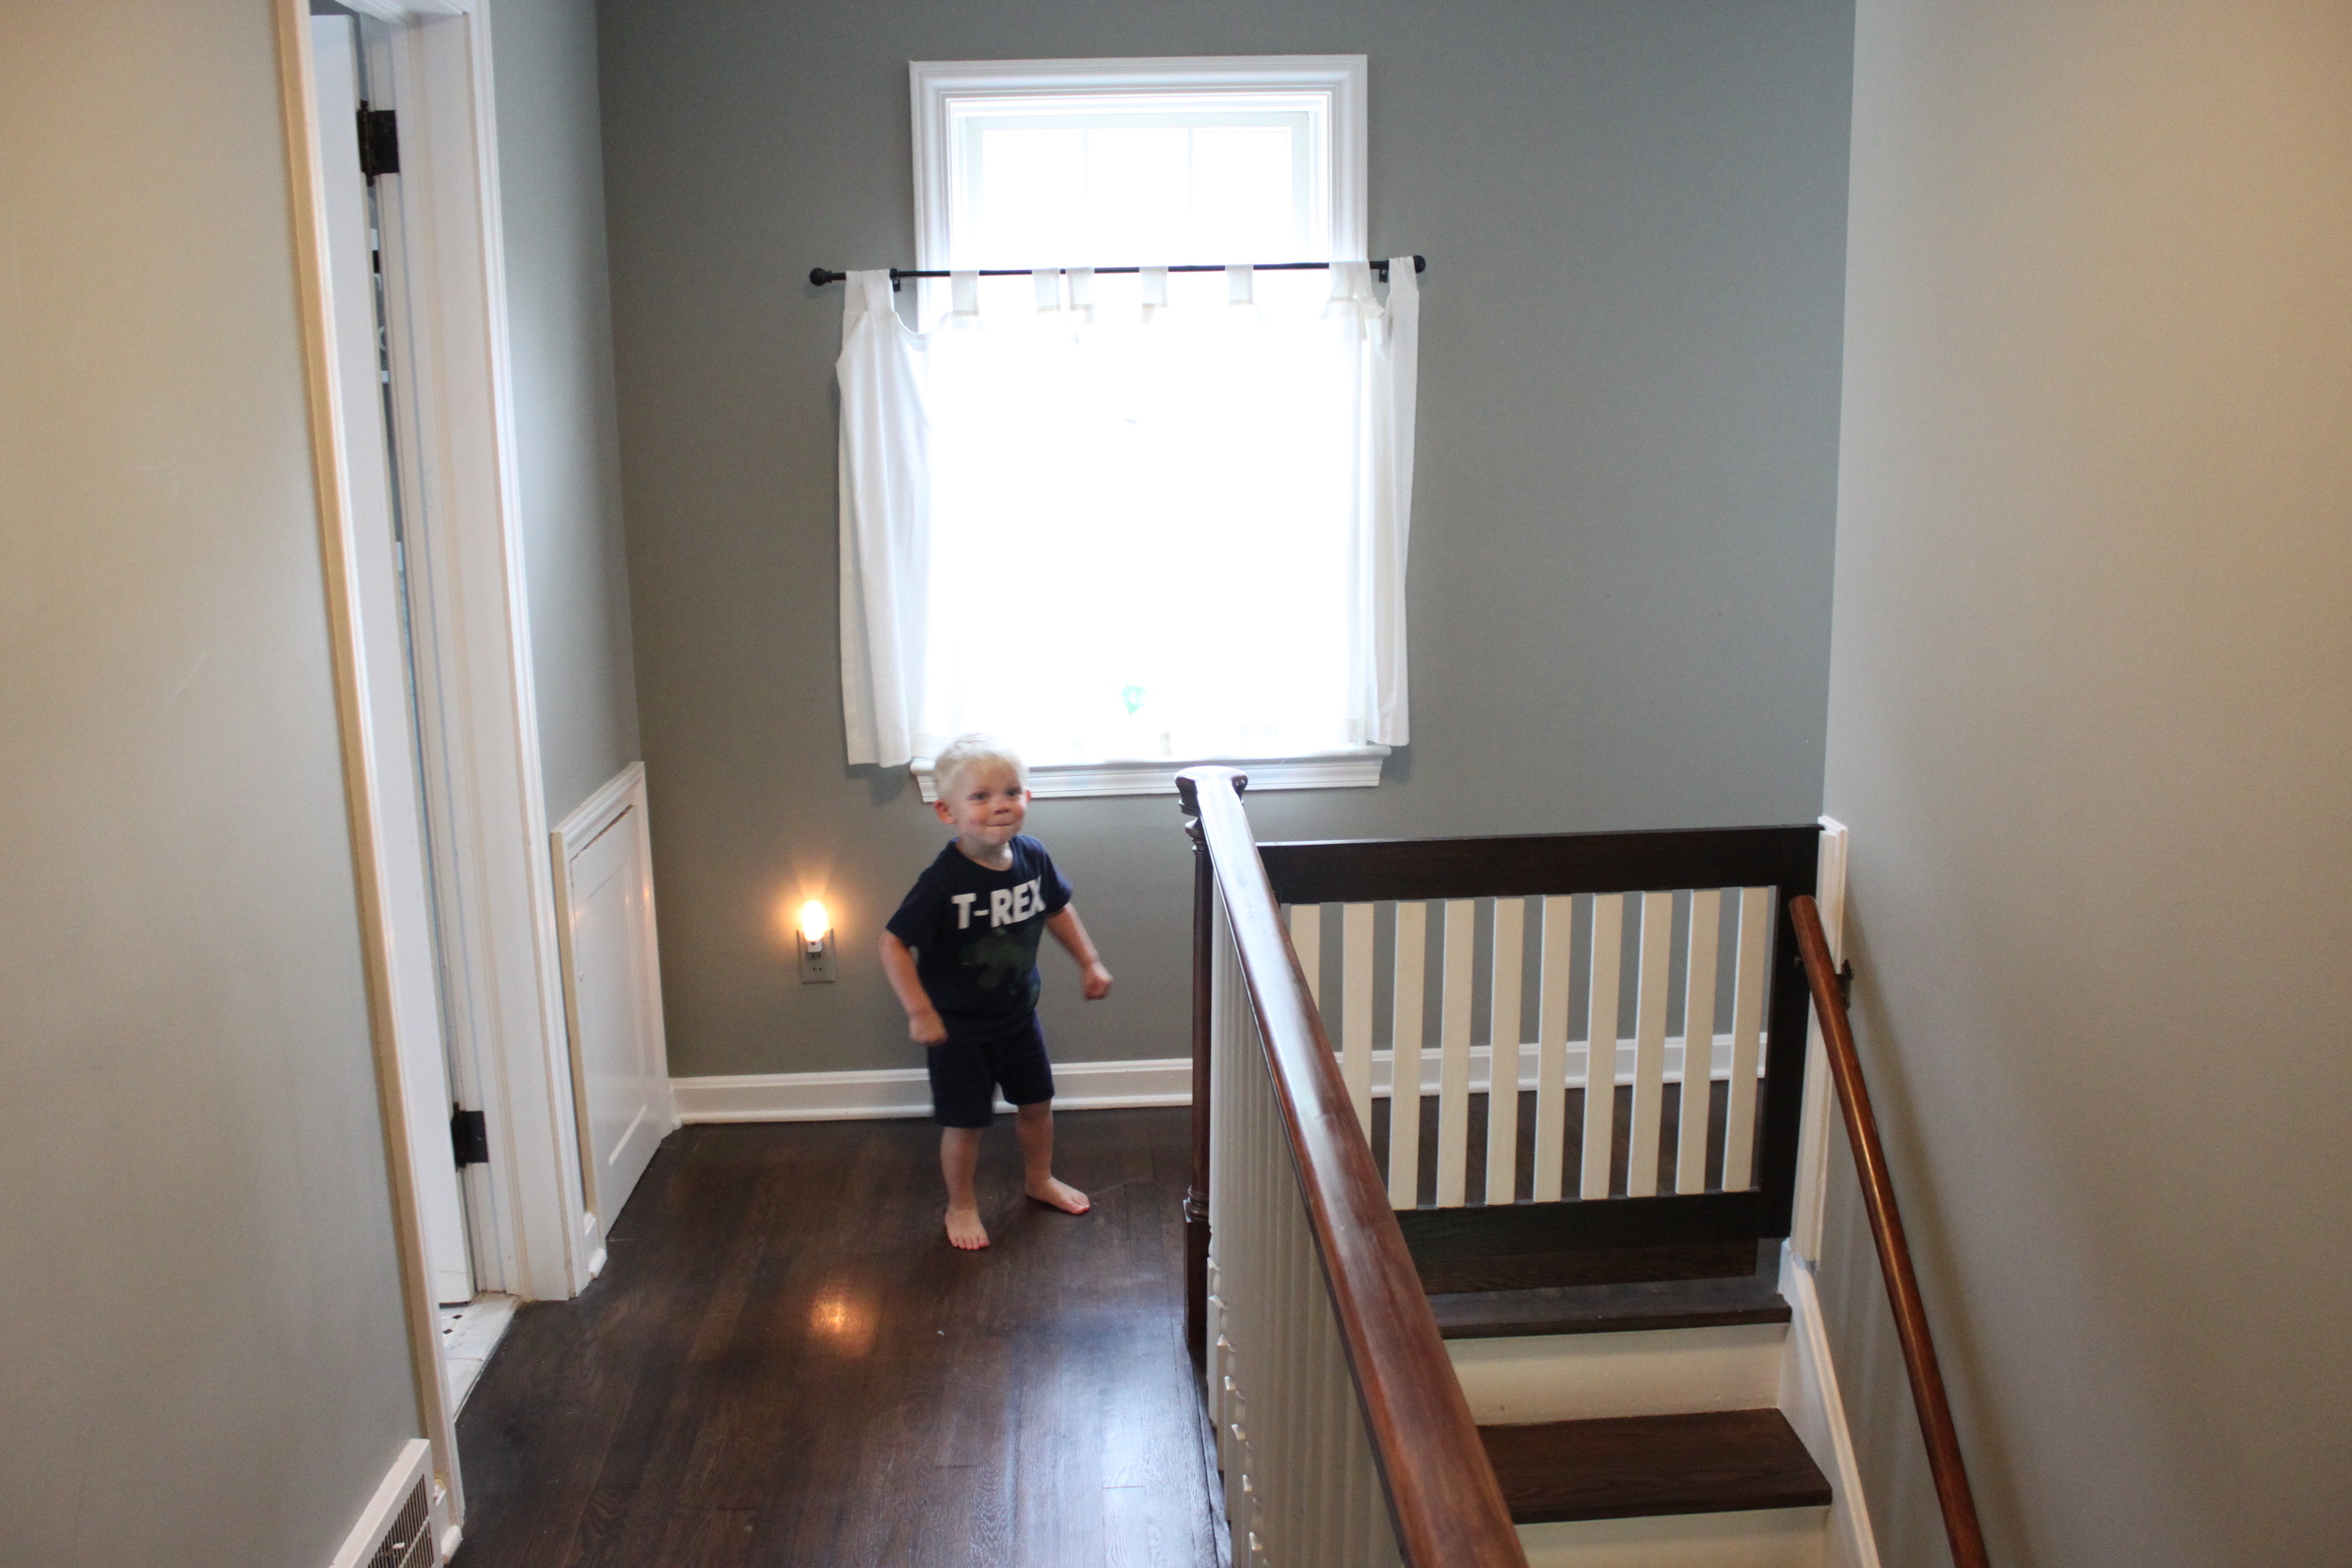
However, the gates are SUPER functional - life changing - and I'm so happy with the result! They look good and blend in with the style of our house seamlessly. Additionally, they are strong and sturdy. The store bought ones we used were so ugly and didn't fit well and I never truly had peace of mind. These ones are awesome. At the end of the day, they are definitely worth all of the hard work!
Below I have included a detailed list of the products and materials we used, along with the process we used to make them. (You may want to pour yourself a glass of wine as you read this! Lol)

Materials:
- Varathane wood stain (kona) 1 quart
- Varathane Triple Thick polyurethane 1 quart
- Kilz primer
- White paint
- 4 paint brushes and a rag or paper towels for the stain
- Wood glue
- 60 and 120 grit sand paper
- Door jam trim piece 32" long (find in the molding aisle, this is the trim that doors close against on the interior of a doorway)
- Cabinet hinges: Everbuilt oil rubbed bronze 2-1/2"x 1-9/16" (pack of two)
- Slide door bolt: First Watch Security 2" oil rubbed bronze
- Oak boards:
(i) two 0.5"x 2.0" boards 11 ft long (for the posts, cut into ten pieces 2 ft long each, save a 6" piece for later, includes an additional 6 inches for scrap);
(ii) one 1"x 4" board 12.5 ft long (for the frame, includes 6" for scrap); and
(iii) one 1" x 4" board 32" long (install against the wall and attach the gate to it)

Power Tools:
- Miter saw (required)
- Power screwdriver (required)
- Table saw (optional)
- Power hand sander (optional)
- Router (optional)
- Nail gun (optional)
Optional alternatives provided in instructions
Instructions:
1) Measure width of gate, from wall to inside of stair railing post and subtract 1/2" for the wall mount
2) Cut two pieces to this width from the 12.5 ft board. These are the top and bottom pieces of the gate frame
3) Cut two 24" pieces from the 12.5 ft board. These are the sides of the gate frame.
4) Cut ten 24" pieces from the 11 ft board. These are the gate posts.
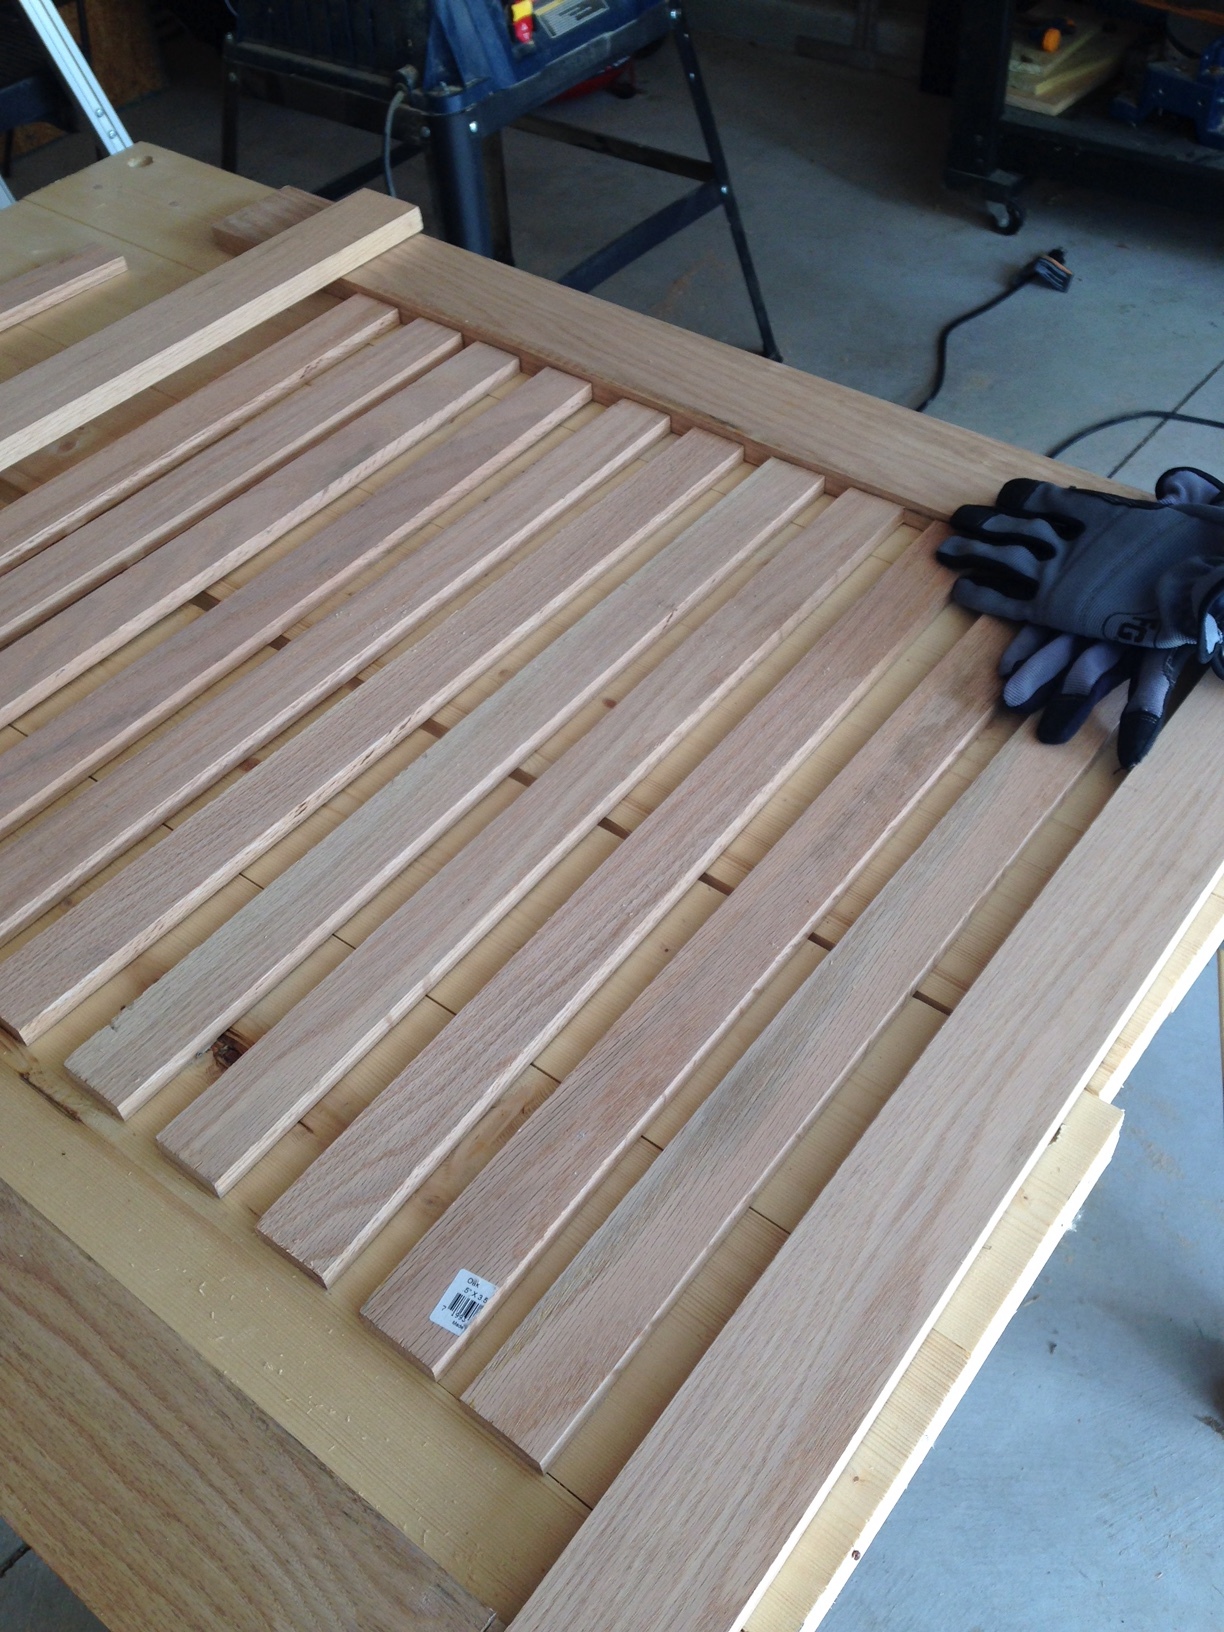
5) If you have a table saw, use the table saw to make 1/4" tongues on the ends of each post and the ends of the 24" side frame pieces.
6) If you have a router, cut grooves in the top and bottom frame pieces where the side frame pieces and posts will go. It takes time to ensure that the frame is square and the posts are parallel and equally spaced apart. Do not glue the pieces together yet.
If you don't have a table saw and router, purchase a pack of twenty 1/4" dowels with a cheap doweling kit (around $5), and use dowels to attach the posts and frame pieces. This will be time consuming but a less expensive alternative to a table saw and router.
7) Sand each piece, start with the 60 grit, then 120 or higher grit
8) Stain and poly the frame pieces per the product instructions
9) Prime and paint the posts
10) Glue the side frame pieces and posts into the bottom frame piece
11) Glue the top frame piece on to the posts and side frame pieces
12) Install hinges to the gate. If you have a router, install 1/8" recessed pockets for each hinge
13) Wall mount - If you have a router (and if desired) add decorative beveled edge to wall mount, otherwise leave it square
14) Use nail gun (or power screwdriver) to install wall mount
15) Use power screwdriver to attach gate to wall mount. If you have a router, install 1/8" recessed pockets for the hinges in the wall mount
16) Close gate and measure where to install latch. Follow latch installation instructions included with purchase.


As you can see on our upper gate, we had to get a little creative with the bottom of the gate in order to work around the stair molding. Essentially, we added an extra base piece of trim.
Whew! If you read that all the way through, God bless you! Love them, but a lot of work!
